
Set up a Shoutcast and IceCast Streaming Server with Let’s Encrypt SSL with Certbot
Shoutcast is a media streaming service that lets you create your own media streaming platform. It supports digital audio content in MP3 and Advanced Audio Coding (AAC) formats. This guide explains how to set up a Shoutcast server on Ubuntu and secure it with a Let’s Encrypt SSL using Certbot.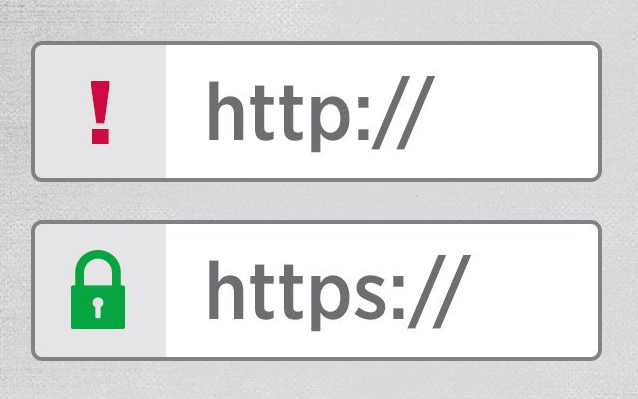
Set Up the Shoutcast Server with Nginx, Ubuntu 22.04
Download Shoutcast Distributed Network Audio Server (DNAS) for Linux.
$ wget https://download.nullsoft.com/shoutcast/tools/sc_serv2_linux_x64-latest.tar.gz
Create a new folder for your Shoutcast server.
$ mkdir /shoutcast_server
Extract the downloaded Shoutcast DNAS to the new folder.
$ tar -xzf sc_serv2_linux_x64-latest.tar.gz -C /shoutcast_server
Change the directory to the new folder.
cd /shoutcast_server
How to Install Icecast 2 Media Streaming Server on Ubuntu 18.04
Before starting, you will need to update your system with the latest version. You can do this by running the following command:
apt-get update -y

apt-get upgrade -y
Once your server is updated, restart your server to apply the changes.
By default, Icecast is available in the Ubuntu 18.04 default repository. You can install it by running the following command:
apt-get install icecast2 -y
During the installation, you will need to answer some questions as shown below. Once the instalation has been completed successfully, start Icecast service and enable it to start on boot time with the following command:
systemctl start icecast2

systemctl enable icecast2
You can check the status of Icecast with the following command:
systemctl status icecast2
Open the config file:
nano /etc/icecast2/icecast.xml
Configure Nginx as a Reverse Proxy
Install Nginx.
$ sudo apt install nginx -y
Create a new Nginx configuration file for your Shoutcast server.
$ sudo nano /etc/nginx/conf.d/shoutcast.conf
Paste this to your shoutcast.conf file. Replace example.com with your domain name. Change 127.0.0.1 with IP your server.
server {
listen 80;
listen [::]:80;
server_name example.com;proxy_set_header Host $host;
proxy_set_header X-Real-IP $remote_addr;
proxy_set_header X-Forwarded-For $proxy_add_x_forwarded_for;
proxy_set_header X-Forwarded-Host $host;
proxy_set_header X-Forwarded-Server $host;location / {
proxy_set_header Accept-Encoding „”;
proxy_set_header Accept „”;
proxy_pass http://127.0.0.1:8000/;
# Disable request size limit, very important for uploading large files
client_max_body_size 0;
# Enable support `Transfer-Encoding: chunked`
chunked_transfer_encoding on;
# Disable request and response buffering, minimize latency to/from Icecast
proxy_buffering off;
proxy_request_buffering off;
# Icecast needs HTTP/1.1, not 1.0 or 2
proxy_http_version 1.1;
# Forward all original request headers
proxy_pass_request_headers on;
sub_filter ‘:8000/’ ‘/’;
sub_filter ‘@localhost’ ‘@example.com’;
sub_filter ‘localhost’ $host;
}
}
Save and exit the file.
Edit setup nginx:
nano /etc/nginx/nginx.conf
and paste this to nginx.conf:
user www-data;
worker_processes 4;
pid /run/nginx.pid;events {
worker_connections 10000;
}http {
##
# Basic Settings
##sendfile on;
tcp_nopush on;
tcp_nodelay on;
keepalive_timeout 65;
types_hash_max_size 2048;
# server_tokens off;# server_names_hash_bucket_size 64;
# server_name_in_redirect off;include /etc/nginx/mime.types;
default_type application/octet-stream;##
# SSL Settings
##ssl_protocols TLSv1 TLSv1.1 TLSv1.2; # Dropping SSLv3, ref: POODLE
ssl_prefer_server_ciphers on;##
# Logging Settings
##
access_log /var/log/nginx/access.log;
error_log /var/log/nginx/error.log;##
# Gzip Settings
##gzip on;
gzip_disable „msie6”;# gzip_vary on;
# gzip_proxied any;
# gzip_comp_level 6;
# gzip_buffers 16 8k;
# gzip_http_version 1.1;
# gzip_types text/plain text/css application/json application/javascript text/xml application/xml application/xml+rss text/javascript;##
# Virtual Host Configs
##
include /etc/nginx/conf.d/*.conf;
include /etc/nginx/sites-enabled/*;
}
Test the Nginx configuration.
$ sudo nginx -t
Restart Nginx.
$ sudo systemctl restart nginx
Install Let’s Encrypt SSL with Certbot
Install Certbot.
$ sudo apt install certbot python3-certbot-nginx -y
Request a new Let’s Encrypt SSL Certificate using Certbot. Replace example.com with your domain name.
$ sudo certbot --agree-tos -d example.com
Let’s Encrypt Certificates are only valid for 90 days. To automatically renew the SSL certificates, add a new cron job.
$ sudo crontab -e
Select your preferred editor, then paste this into the crontab file.
0 0 1 * * certbot renew --quiet --post-hook="systemctl reload nginx"
This command runs at midnight on every first day of the month. It checks if the certificate expires within the next 30 days and renews it if so.
Save and exit the crontab file.
Follow these steps to remove the apache2 service using Terminal:
apt-get remove apache2